|
|
|
|
|
|
|
|
|||||||||||||||||||||||||||||||||||||||||||||||||||||||||

MY ZIP LINE - PAGE 3
BACK TO PAGE 2 |
|||||||||||||||||||||||
RIDING THE ZIP LINEAt the same time that I ordered all of the hardware to construct the zip line, I also ordered all of the mechanical parts for riding the zip line. Here is what I bought:
(also see ziplinegear.com for complete zipline kits - see my video on Page 5)
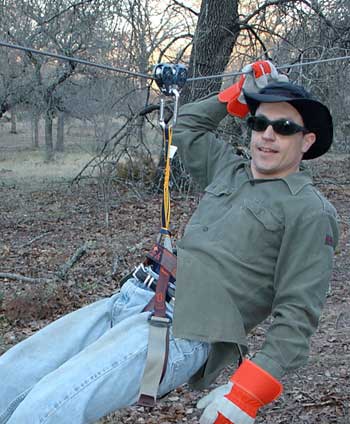
Peter wearing the rig
So, the zip line had been erected. We could only hope that we got the slope correct because there was no way we were going to adjust the angle after the amount of time and energy it took to get that line tensioned. But before putting a human on the line we decided to do a simple sanity check and send the trolly down the line with some dummy weight on it just to be certain that the slope wasn't out of control. The only thing heavy that we had laying around was the cable cutter, so I strapped it into the harness and let it fly!
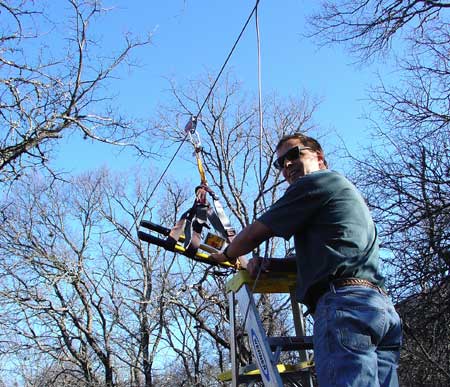
Cable cutters get the first test run down the line.
The cable cutter didn't weigh much, so it only made it about 70% of the way down the line, but that was a good sign that a human would not go flying at 100 mph into the tree at the bottom. So, the next test was to strap on the harness and do a line stretch test at the landing zone to make sure that the line wasn't just going to dip and slam the rider into the ground. I connected myself near the end of the line and my brother pushed me up-hill a little ways. I bounced around to be sure it was going to hold, and it looked pretty good. I was ready for the first run! The starting end of the zip line was pretty high up, and we only had an 8' ladder, so it was looking doubtful if I would be able to pull the line down low enough to clip the trolly in. With a little effort I got strapped in and headed down the line - applying some friction to keep from going too fast on the first run.
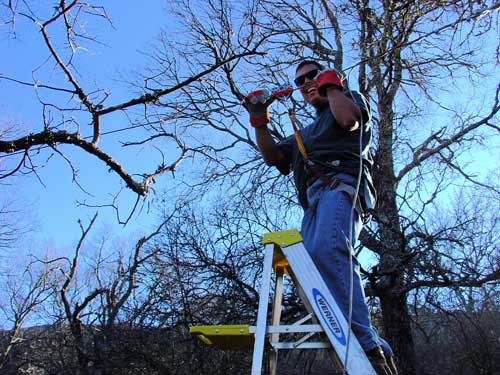
I'm all strapped in and ready to go!
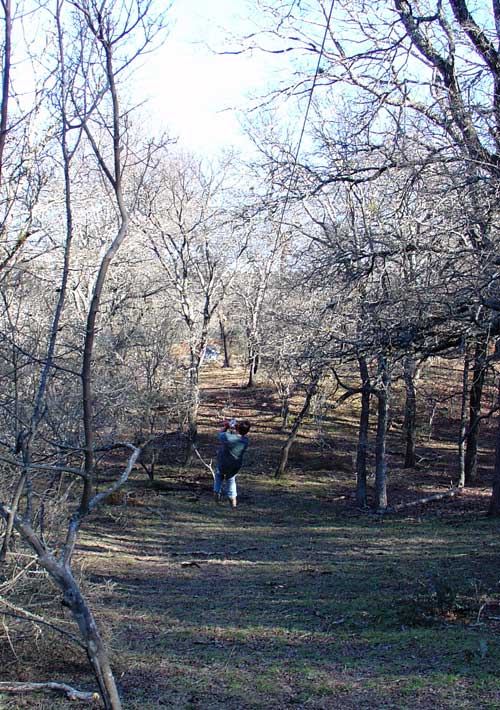
And down I go! The ride went extremely well. It quickly accelerated to an exhilarating speed, and then gradually slowed down. By the time the ground was at my feet I was going slow enough to stop myself with no injury. Unfortunately, due to the curvature of the terrain and the height of the end of the line, the ride ended about 40' from the end of the line. We tensioned in the turnbuckles as far as they'd go, and that tiny little bit of tensioning made a big difference. For me it added another 10' to the ride, and for my brother who weighs about 20lbs. less than me, it added maybe 20' to the ride. So, for him, he was able to zip approximately 175' of the 200' line. The ride for both of us lasted about 10-11 seconds. Worth the price of admission! Here's a video of my brother's 2nd ride down the line after we had tensioned the line as much as was possible with our turnbuckles: |
|||||||||||||||||||||||
|
|
|
|
|
|
|
|
©2011 Brian Greenstone