|
|
|
|
|
|
|
|
|||||||||||||||||||||||||||||||||||||||||||||||||||||||||

MY ZIP LINE - PAGE 2
BACK TO PAGE 1 |
||||||||||||||||||||||||||||||||
(Update: Skip to Page 5 to see a video of our newer zip-line built in 2010) |
||||||||||||||||||||||||||||||||
PART |
COST |
SOURCE |
|
1/4" x 250' of 7x19 Stainless Steel 304 Aircraft Cable |
$154.00 |
|
|
1/4" Stainless Steel Cable Clips x 18 |
$38.52 |
|
|
1/4" Stainless Steel Thimbles x 6 |
$4.00 |
Lowes Home Improvement |
|
3/4" x 12" Galvanized Turnbuckles x 2 |
$33.00 |
(also see ziplinegear.com for complete zipline kits - see my video on Page 5)
I decided on the stainless steel cable instead of galvanized because I had read somewhere that the stainless is more weather resistant and has a smoother ride than galvanized. However, the galvanized is a little bit stronger and a lot less expensive. You're not supposed to mix metal types, so all the clips and thimbles had to be stainless too which added more expense. However, the turnbuckles are galvanized because they don't make stainless turnbuckles anywhere near as large as I needed. I think I'll be okay tho - the thimbles will take any corrosion that the metal mix will cause, but I'll have to keep my eye on it.
ASSEMBLING THE ZIP LINE
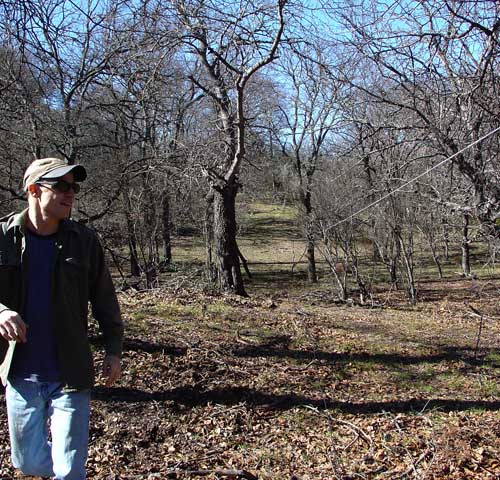
Once all of my parts had arrived it was time to go out to the ranch and put it all together. The first step was to clear the tree limbs that were obviously in the way. Then we laid out the cable from the end-tree to the launch-tree. I had ordered 250' of cable so that I would have plenty of extra to account for the slack in the line, plus the amount we'd need to use for the tree anchors.
Speaking of tree anchors... I've seen many places on the web where they drill a hole thru the tree and insert a long eye bolt through it to use as the anchor. I saw this and was amazed that anyone would do that. There are so many problems with that method:
|
1. Once you've set the anchor that's that. You cannot move it if you need to tweak the zip line. 2. A chain is only as strong as its weakest link, and the eye bolt is a link in that chain. I don't like the idea of one of my major components being hidden from me inside a tree. If a fracture or some other problem develops with that eye bolt I want to know about it, but there's no way without x-ray vision to see the condition of the bolt. 3. You're drilling thru your tree, man! Aside from that just seeming wrong, I didn't want to have to buy a $30 auger bit to drill 18" thru a tree. |
|||
So, instead I decided to do what I had seen on other zip lines and just tie a sling line around the tree. To prevent the cable from eating into the tree, I used wood blocks made of scrap 2x4's. I used a router to cut a channel in each block for the steel cable to seat into.

Blocks to keep the sling from digging into the tree
The sling itself is just a 7' line with thimbles on each end that are connected directly to the turnbuckle:
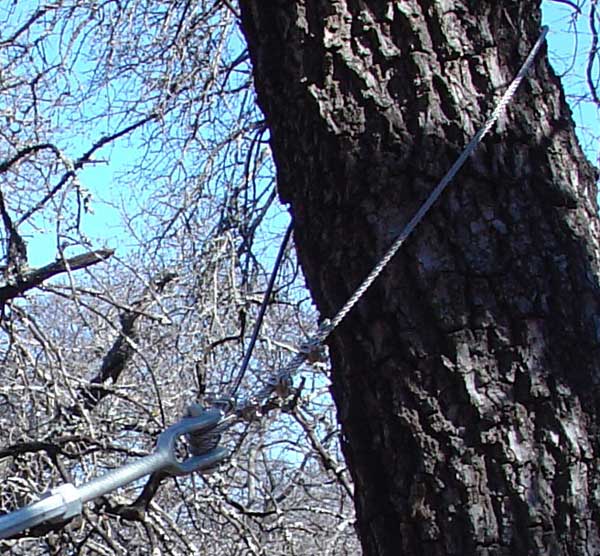
7' of line with thimbles on each end that are connected to the turnbuckle
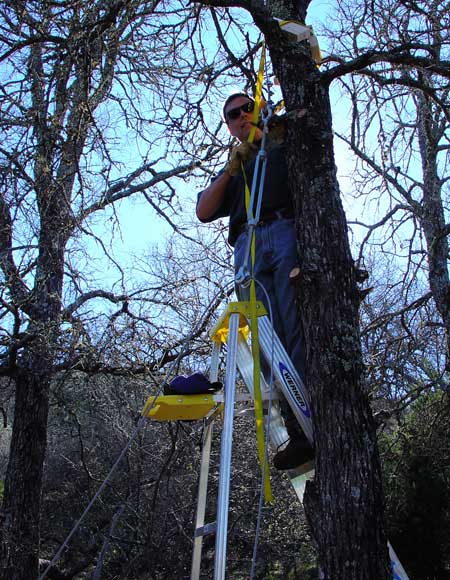
We pretty much had to guess at what height to try attaching the line to give it the proper slope, but we did our best to guess scientifically. Based on figures I'd seen elsewhere on the internet I came up with a 9 foot elevation drop for a 200' zip line. I think my setup came out a little less than that, but it's probably pretty close. Using a ladder, we connected the turnbuckle to the sling, and then the turnbuckle to the zip line cable. We used a cargo strap to temporarily apply tension to the wood blocks to keep them in place.
Next, it was time to attach the other end of the zip line and tension the cable. We made the mistake of connecting the lower end of the zip line first. That meant that we had to do the tensioning on the high-end which made life more difficult. Nevertheless, we assembled the sling for the high end of the line and attached the turnbuckle. Both turnbuckles at this point were fully extended.
Adjusting the sling's blocks before starting to tension the line.
(NOTE: tensioning the line by hand was really hard and in many cases would be impossible. See Page 5 for information on how we tensioned our next zip-line using the proper hardware).
The turnbuckles were only going to give us 2' of tensioning, so we had to do as much tensioning by hand first. This proved to be incredibly difficult! 200' of steel cable is very heavy! I took the free end of the cable and ran it thru the thimble that was placed in the turnbuckle. My brother went to the middle of the zip line and used a long branch to lift the line to relieve some of the weight pulling on it. This helped a lot. Then, I slowly inched the line thru the turnbuckle trying to get as much tension on the line as I could. My hands were killing me and my fingers were starting to cramp up, but we got a lot of tension pulled up. So, I quickly attached a cable clip to keep the line from slipping. Then I let my brother finish attaching the other clips while I rested my hand.
At this point there was still a lot of slack in the line, so we were a little worried. But as we started tightening the turnbuckles the line quickly rose. I learned from this that it is probably impossible to hand-tension a zip line that's longer than 200' unless you're Hercules, so, if I ever build a longer zip line I'll probably use some kind of cable ratcheting device instead of trying to do that by hand. Or, adding a few more turnbuckles might be another way to fix the problem.
|
|
|
|
|
|
|
|
||||||||||||||||||||||||||||||
©2011 Brian Greenstone